Clay What
Create the pottery of your dreams without the fuss of a kiln by using air-dry clay.
The basics
Unlike traditional clay that requires firing in a kiln, air-dry clay hardens naturally when exposed to air, making it ideal for home use. It’s also affordable, widely available in most craft shops, and you’ll most likely find the process highly therapeutic too.
Supplies
It is recommended you begin with white clay that can be painted once dry, along with a set of basic clay tools such as a rolling pin, cutting tools, sculpting tools, and a smoothing sponge (household items like toothpicks, butter knives, and cookie cutters can also be used).
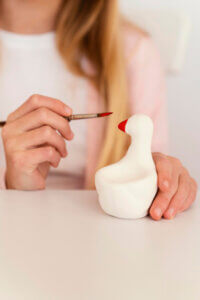
When ready to decorate, acrylic paint is your best bet, followed by a varnish or sealant.
Techniques
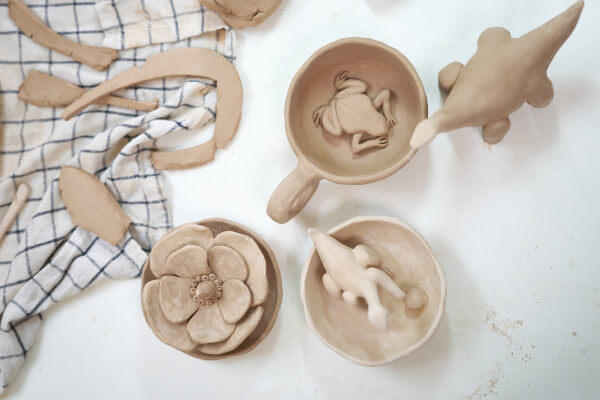
Knead the clay well to make it pliable and remove any air bubbles, then cut or shape it with tools or your hands. Experiment with textures by pressing household objects like lace, leaves or stamps.
Use water to act as an adhesive when pressing pieces, with a damp sponge or your fingers perfect for smoothing the surface to achieve a polished, professional finish.
 Drying and decorating
Drying times vary depending on the size and thickness of the project, but most pieces take 24-72 hours to fully set. Once set, apply thin layers of paint and let each coat dry before adding another.
Finally, apply a clear varnish or sealant to protect your creation from moisture and wear.