How to Upcycle a Bookcase

Part two in our vintage upcycling feature
We promised we’d bring you some more upcycling ideas, so here we are! Our Editor Clare is not very handy when it comes to craft and DIY projects, but she gave it a go and here’s her guide to how to get the look that even a complete beginner can follow…
What I Bought:
- Bookcase: £10, Aston Clinton Recycling Centre
- Wallpaper: £14.99, Homebase
- Spray paint in heirloom white: £9.99, Homebase
- Beeswax: £7.14, Metcalfe’s, Tring
- Total: £42.12
What Else You Need:
- Masking tape
- PVA glue
- Paintbrush
- Knife/scissors
- Tape measure
- Sandpaper
Step One
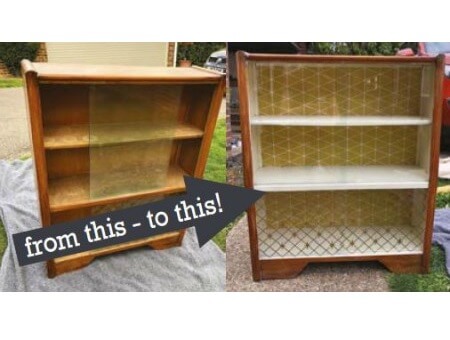
Choose a bookcase. Chances are you have one hiding away in the loft or garage, but if not then head to Tring Auctions to see if they have anything that takes your fancy, or try Aston Clinton Recycling Centre on the A41. That’s where I bought this little beauty. It doesn’t look like much, but I loved the glass panels at the front and thought it had potential.
Step Two
Decide on your look. I chose to keep the outside wood as it was a nice colour and in not too bad condition. The shelves inside were badly marked, so I wanted to paint those, and decided to line the back with wallpaper.
Step Three

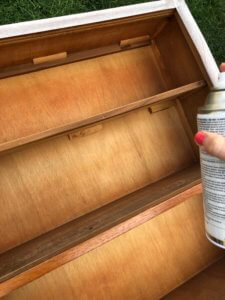
First, lightly sand the whole case. Then wipe down to remove any dust and carefully apply masking tape around the edges of the bookcase. I chose a spray paint for the shelves, as it was much quicker, but it doesn’t go very far so be careful! Ordinary paint will work just as well but will take longer to dry in between coats. If you choose to spray it, wear a mask.
Holding the can a few inches away, spray the paint evenly over the shelves and sides of the case. Leave to dry for a few minutes, then repeat. It may need three or four light coats for even coverage.

Step Four
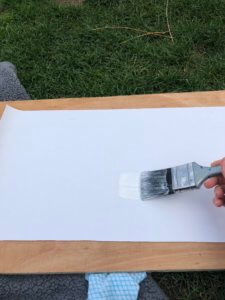
Once dry, measure the back of the shelves. Carefully mark the size on your roll of wallpaper, then cut out with a knife or scissors. Paint the back with PVA glue (you may need to slightly water it down for ease of coverage), then stick the wallpaper to the back of the case, making sure to smooth out any bubbles or creases. Repeat on the rest of the shelves then leave to dry.
Step Five
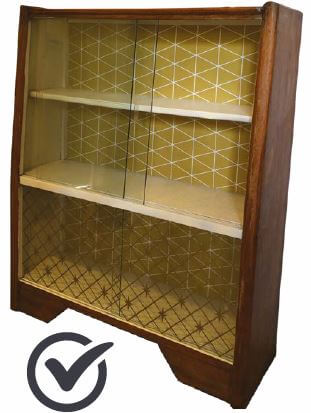
Remove the masking tape then, with a clean cloth, gently rub the beeswax over the wood to give it a shine. And that’s it! Hopefully, if you’ve chosen the right colours and patterns, you’ll have a bookshelf you can be proud of – and for a fraction of the cost of buying it new!

